Overview
UCSF Health: reimbursement guide for retirement events.
This is a step-by-step guide for UC Health staff navigating the retirement party reimbursement process in MyExpense.
UC Health has an exceptional approval process in place for retirement party reimbursements. This process must be followed when submitting an expense report for this type of reimbursement.
The following three individuals together are involved in the approval process:
- Alma A. Garcia
- Katharine Tull
- James Wentz
When creating your expense report in MyExpense, these individuals will be selected as approvers during the expense report-creation process.
Required Forms
The following form must be completed for retirement party reimbursements: Pre-Authorization Form for Planning Employee Morale-Building Events & Activities. Once the form is complete, you will add it as an attachment in MyExpense to your expense report before submitting it. Failure to do so will result in your expense report being returned to you.
Missing Receipts
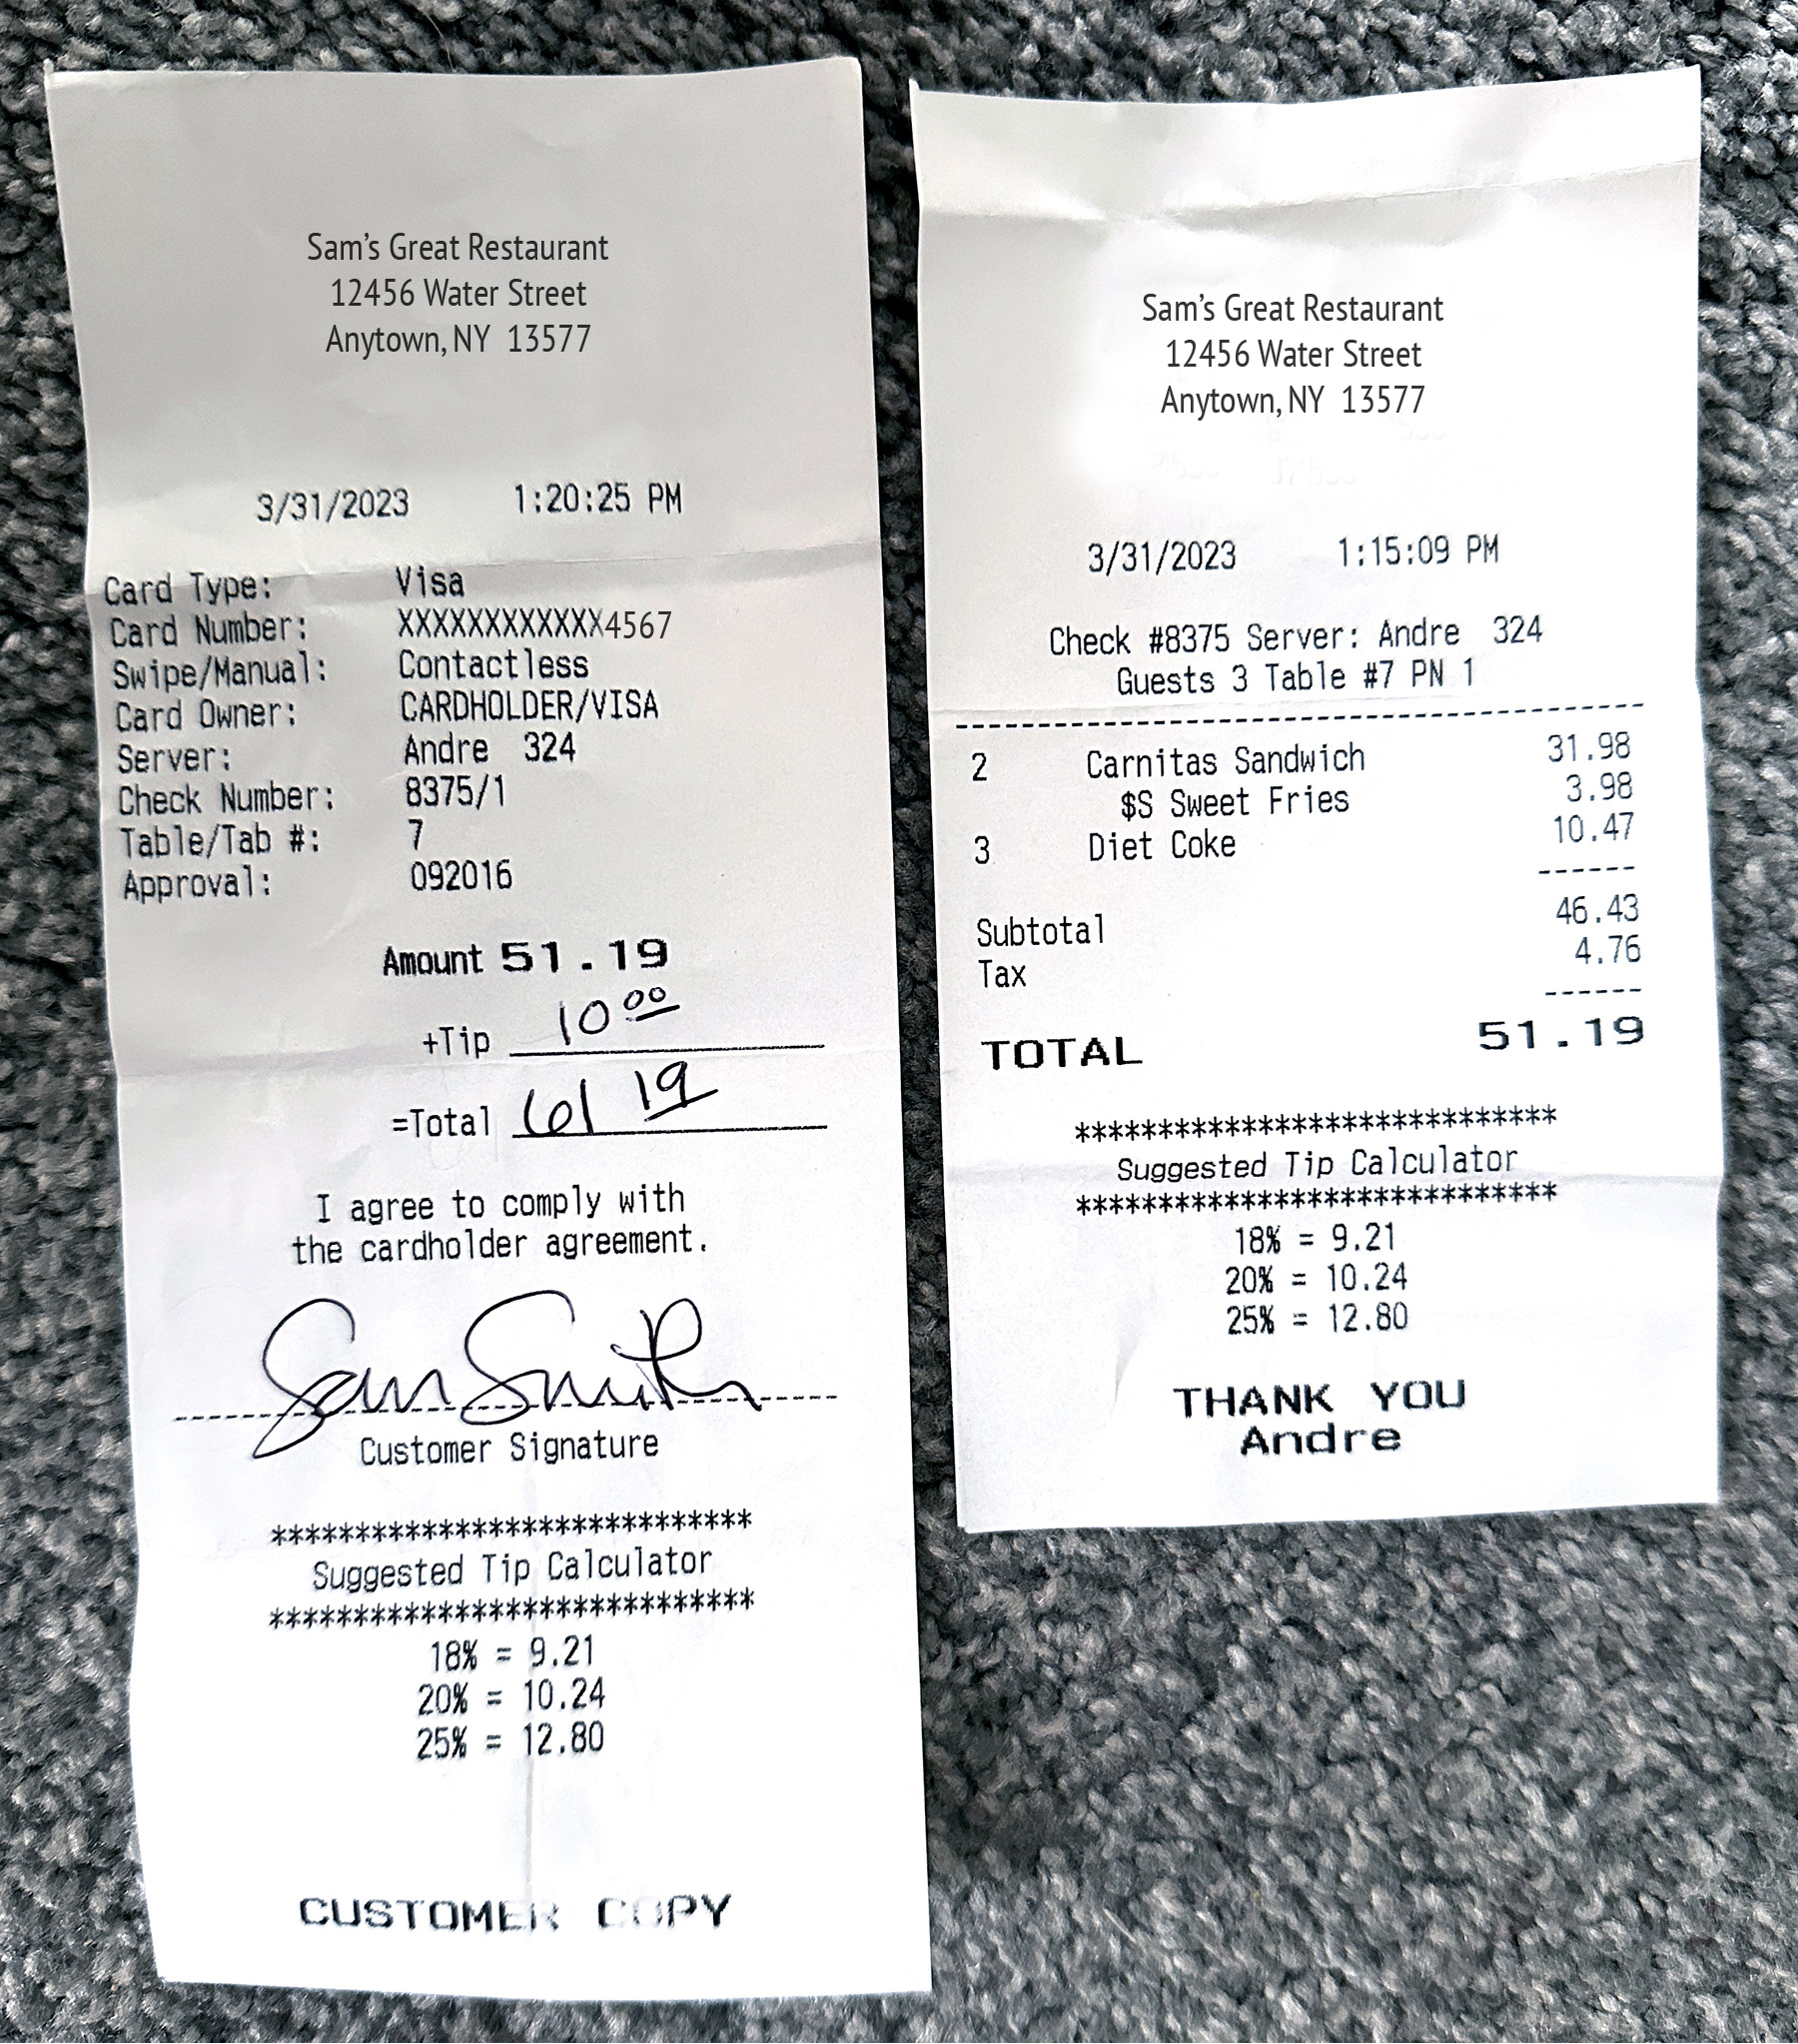
Always ensure that you have your itemized receipts showing that you paid for the expense. If you lose or misplace receipts, you must attach a completed Declaration of Missing Receipt Form to your expense report.
Creating an Expense Report for a Retirement Party
The following steps will guide you through the expense report creation process for a retirement party reimbursement.
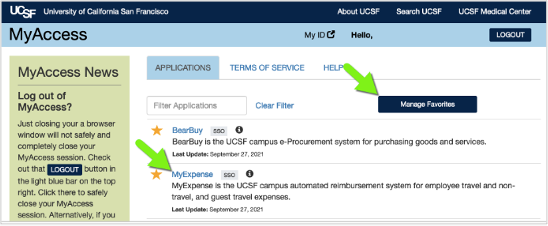
Log into MyAccess and select the MyExpense link to open the application. (Note: You may need to click the Manage Favorites button in UCSF MyAccess to view the complete list of applications.)
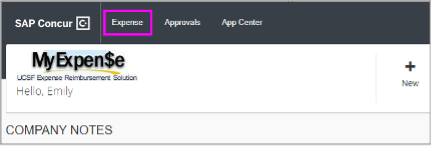
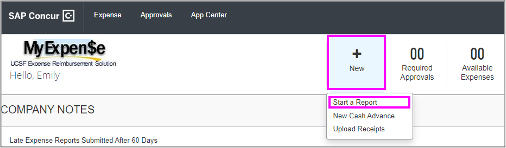
Click on the Expense link in the navigation bar (may also select + New within the Quick Task Bar followed by Start A Report).
The Report Header will now display.
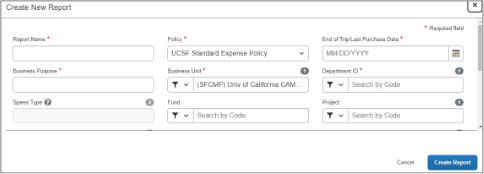
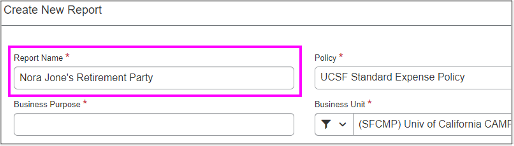
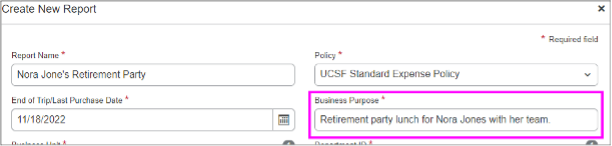
Create a name for your report in the Report Name field.
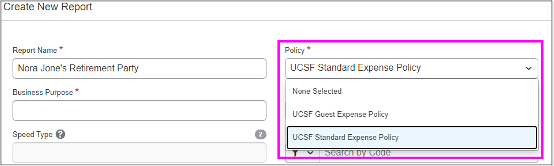
For the Policy dropdown menu, select UCSF Standard Expense Policy (will be selected by default).
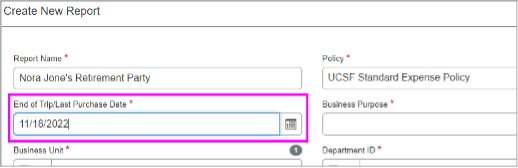
For the End of Trip/Last Purchase Date input the date of when the retirement party was paid for.
In the Business Purpose field, provide a detailed business purpose for the expenses.
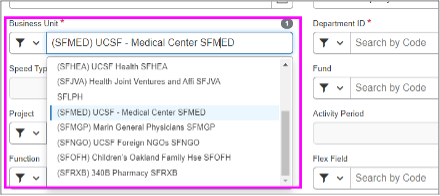
Select the appropriate Business Unit from the dropdown menu
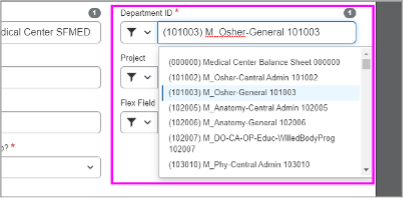
Select or enter the appropriate cost center in the Department ID field.
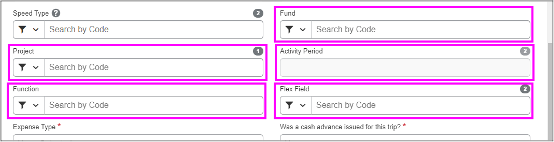
Enter the appropriate Speed Type (cost center) into the Speed Type.

If you do not have a Speed Type to use for the expense, complete the fields for Fund, Project, Activity Period, Function, and Flex Field (if applicable).
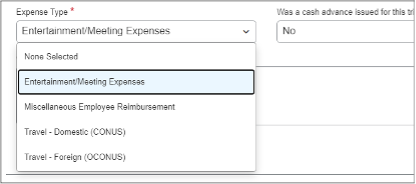
Select Entertainment/Meeting Expenses from the Expense Type dropdown menu.
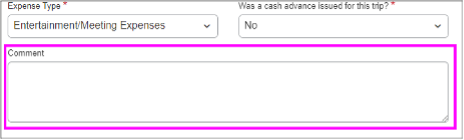
In the Comment field, enter any additional justification or other information for expense approvers to review if needed.
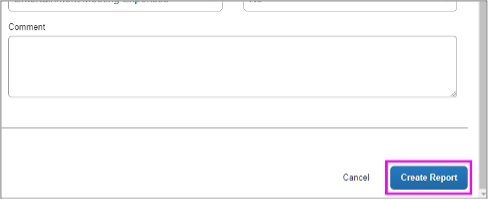
Click on the Next button to start entering line items for your expense report.
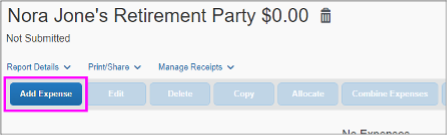
Click on the Add Expense button.
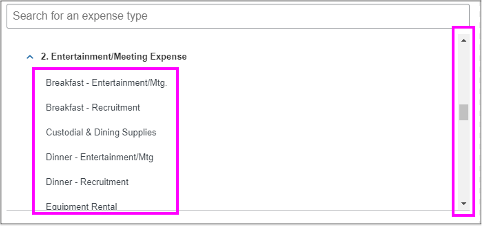
Scroll to the Entertainment/Meeting Expense section under the Create New Expense Tab.
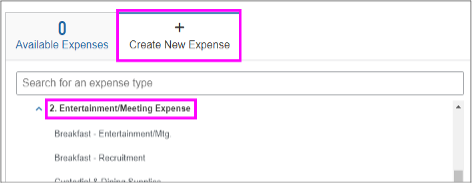
Select the appropriate type of expense from the list within the Entertainment/Meeting Expense section (use the scroll bar to review all the available options).
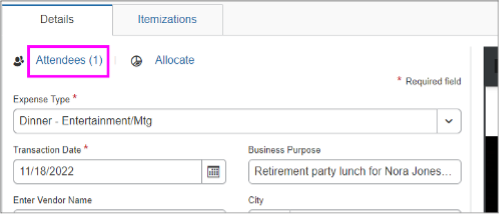
Complete the required fields marked with a red asterisk.

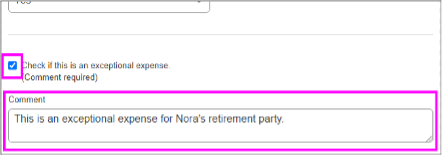
Check the Checkbox if this is an exceptional expense. (Comment required) option and input a comment regarding the expense.
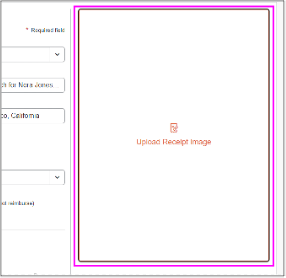
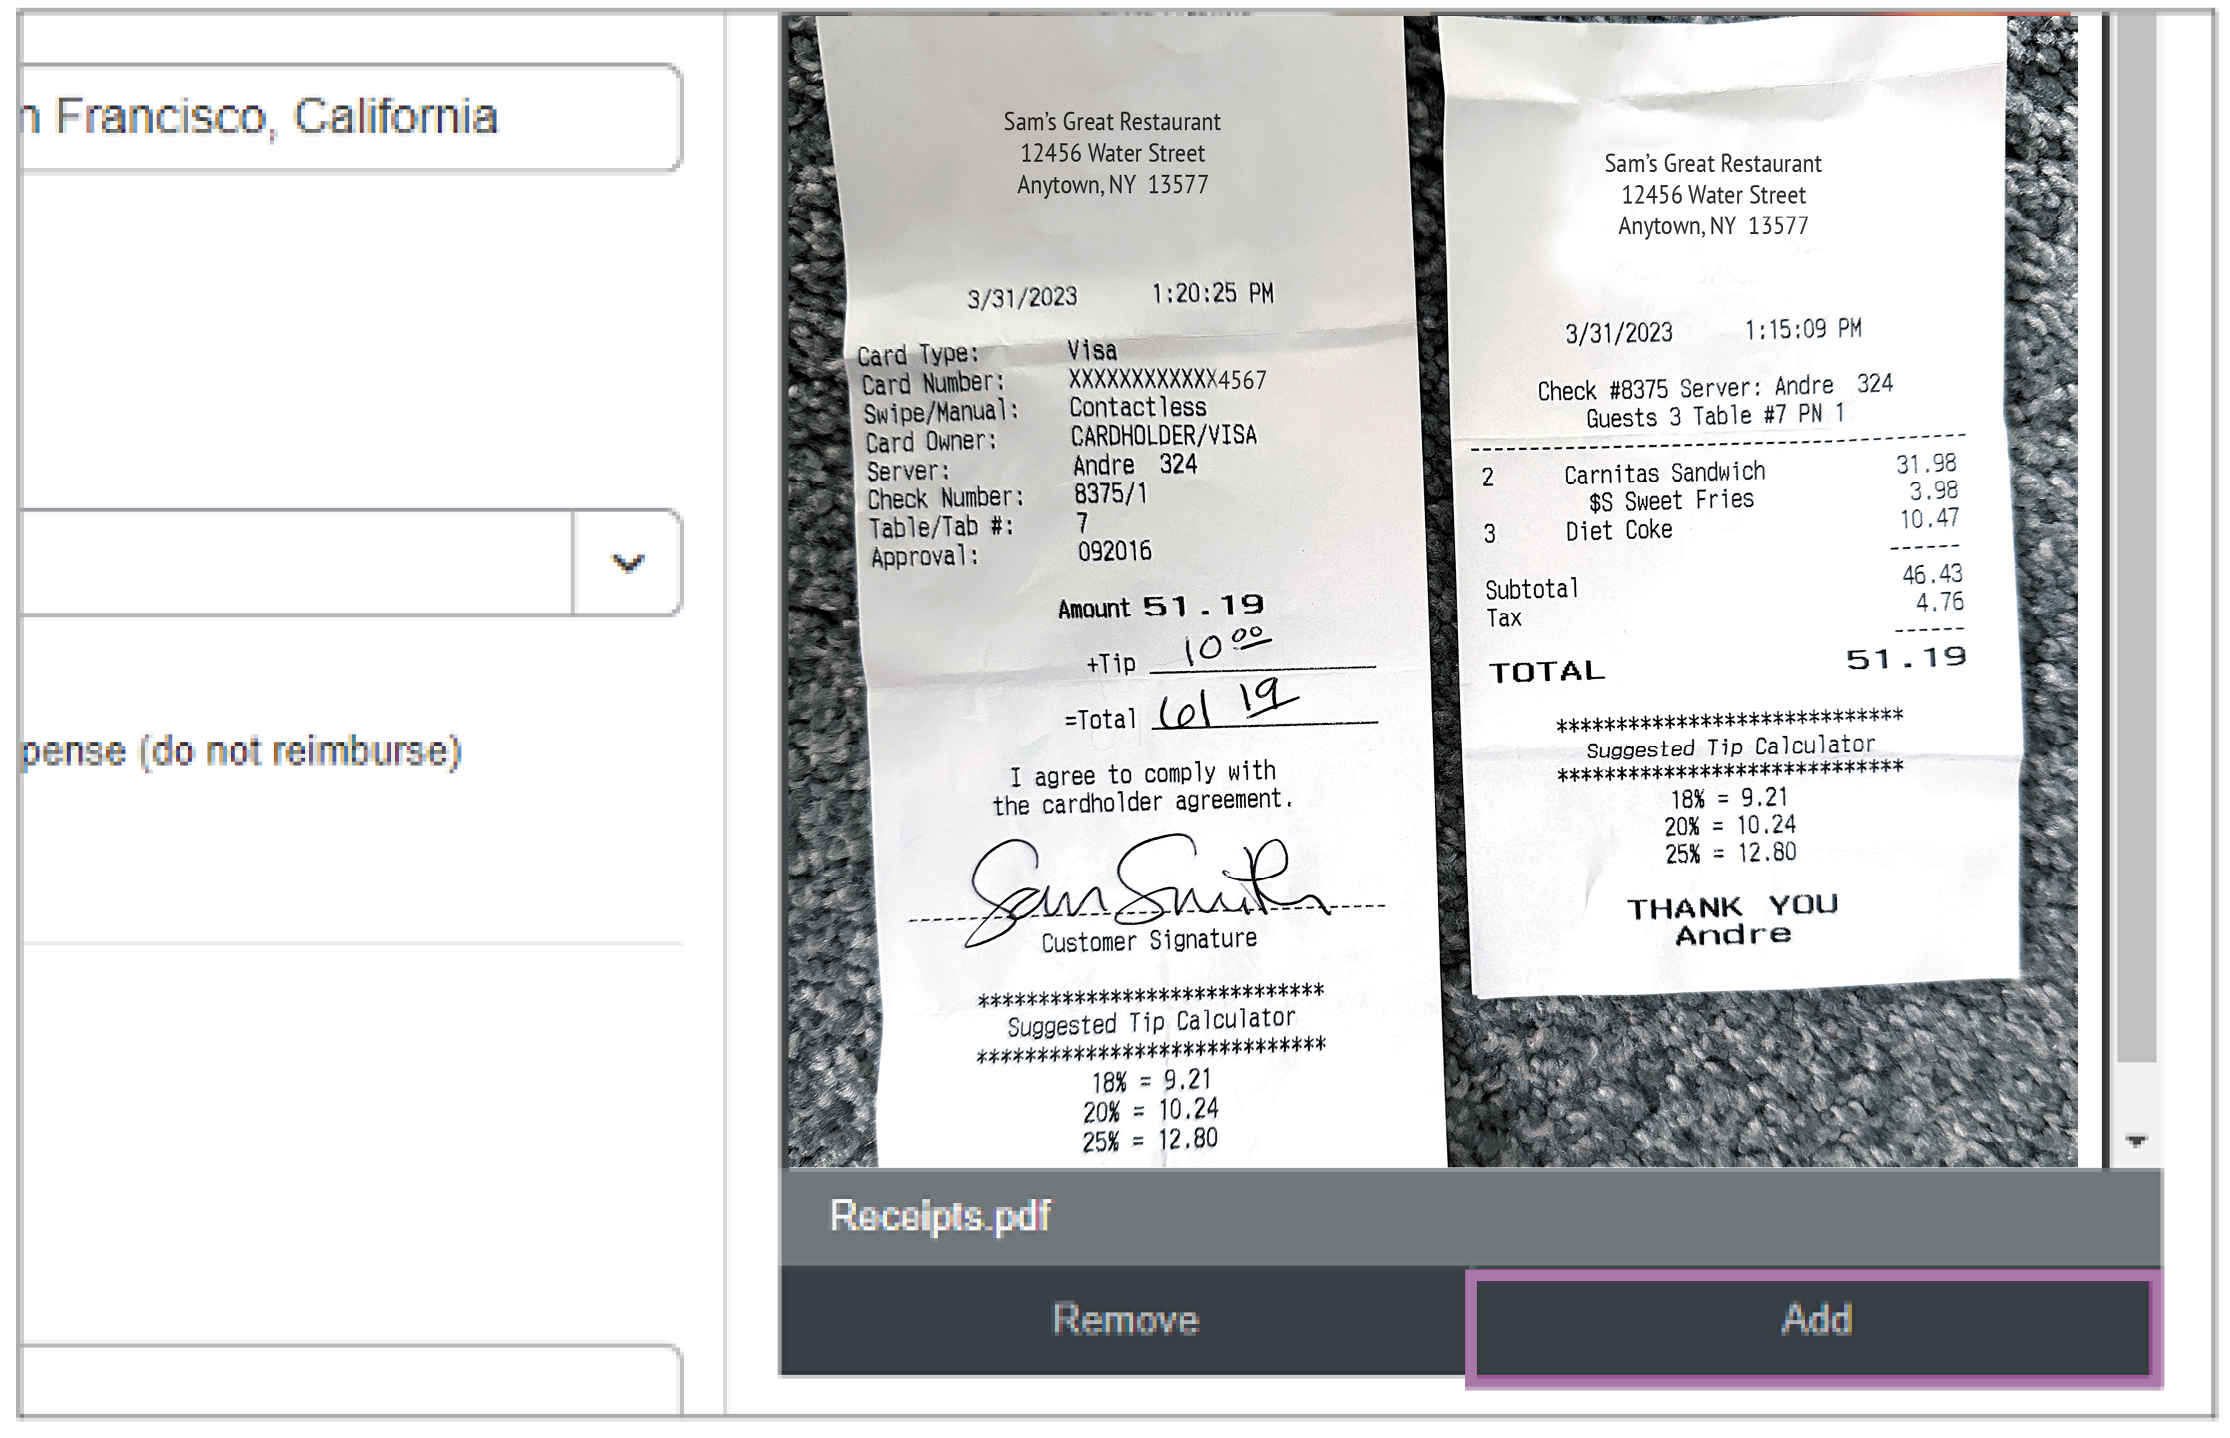
Click on the Upload Receipt Image tile and attach a receipt that includes both the bill receipt and a signed receipt copy that shows payment method and amount paid.
Click on the Add Receipt button and upload your completed Pre-Authorization Form for Planning Employee Morale-Building Events & Activities.
Click on the Attendees link.
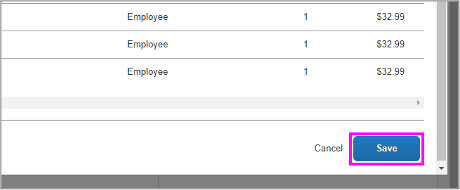
Click on the Add button and add all the appropriate retirement party attendees.
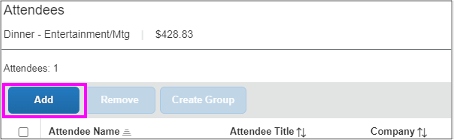
When done, click on the Save button.
Click on the Save Expense button.

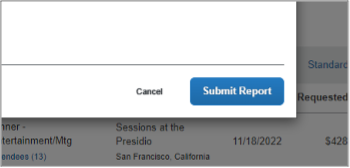
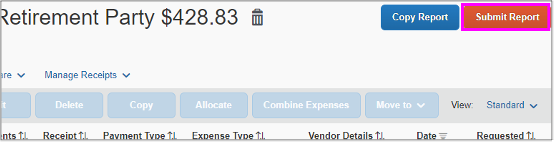
Click on the Submit Report button.
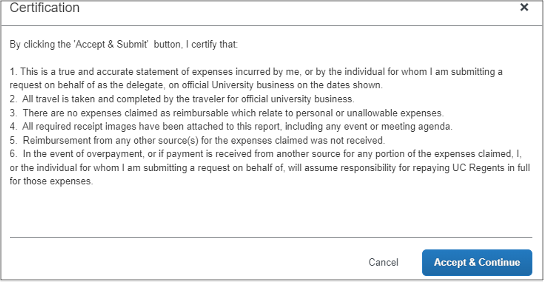
Click on the Accept & Continue button when finished reading the certification agreement.
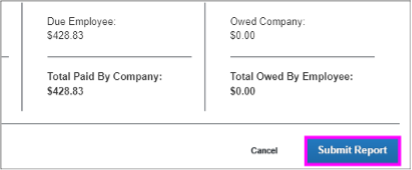
A Report Totals box will display showing an overview of the reimbursement amounts.

Confirm everything is accurate and click on the Submit Report button.
An Edit Approval Flow window will display.
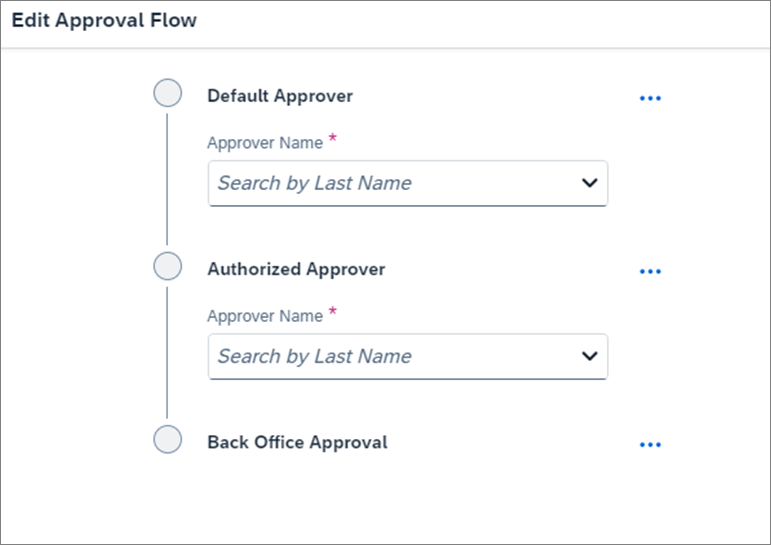
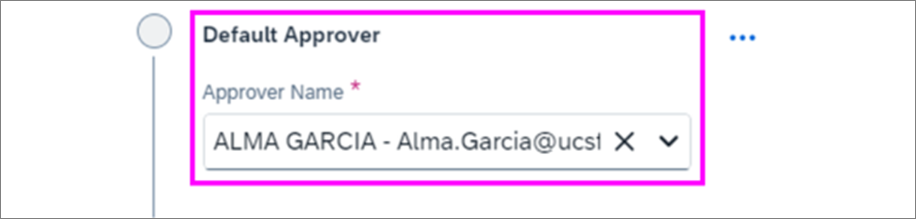
Select Alma A. Garcia as the Default Approver.
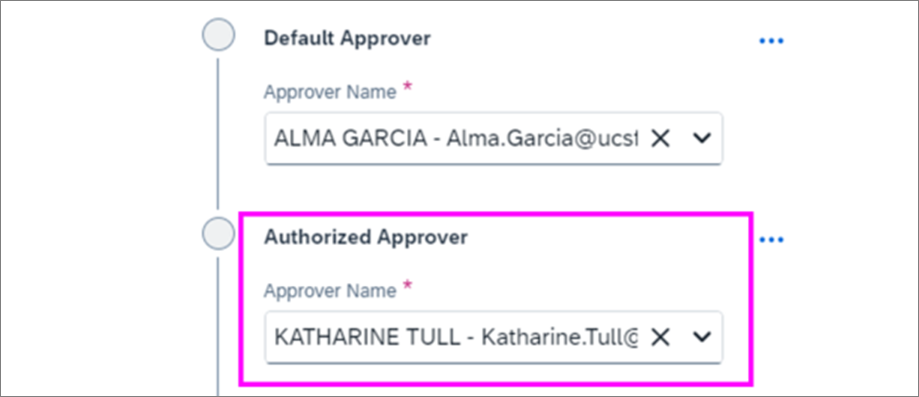
Select Katharine Tull as the Authorized Approver.
Click on the Step Actions button (….) followed by the Add below this step option.
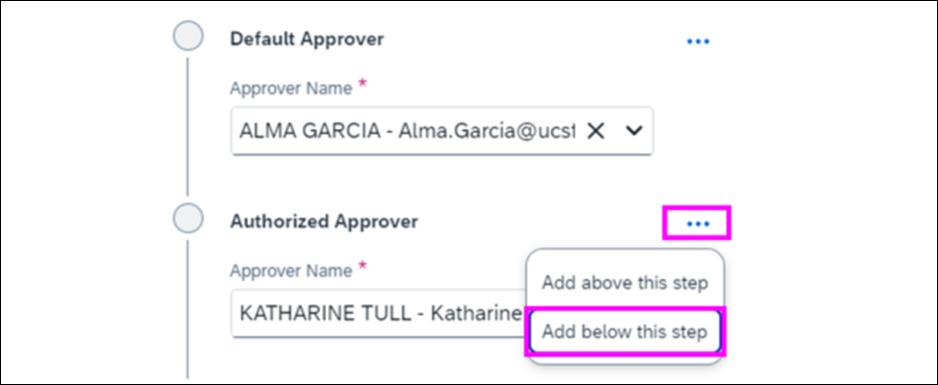
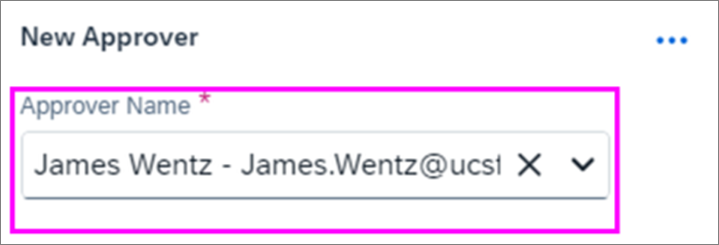
Select James Wentz as a New Approver
Click on the Submit Report button when done.