Overview
Community Partner payments are payments (also known as remuneration) provided to community-based individuals or organizations for services, such as on advisory boards or other bodies that benefit the University.
Definitions
Types of activities for payment may include:
- Serving on UCSF non-academic committees/advisory boards
- Community non-academic guest speakers/panelists
- Community-based organizations that host students for community-engaged learning opportunities
Community Partner Payments do not include:
- Honorarium payments to individuals of scholarly standing for academic activities as:
- Lectures or conducting a seminar/workshop
- Serving as a guest speaker
- Appraisal of manuscript submitted to a professional publication
- Exceptional requests for distinguished teaching or special service
- Consulting service payments
- Payments linked to a defined scope of work for professional services
- Research participant payments
- Payments to faculty or staff
Supplier Setup
All Community Partners must be set up and appear in BearBuy.
- If the Community Partners are not listed in BearBuy, they must be set up as a supplier by following the Doing Business with UCSF process
- The Community Partner must complete the appropriate supplier form
- Send the completed form to [email protected]
- If the Community Partner’s address is incorrect, complete a new supplier form with the new address and send the to [email protected]
- The Community Partner must complete the appropriate supplier form
- If the Community Partner is in BearBuy, proceed to submit the request for payment
- Submit the request as soon as the work is complete to facilitate timely payment
Documentation
Ensure you have one of the following documentation:
- An invitation letter to the Community Partner
- Outline of work
- Signed memorandum of understanding
- Invoice
The documentation must have:
- Community Partner’s name
- Amount they will be paid
- Full details of the work they are doing to justify the payment, including the official University business purpose for the work
- Community Partner’s address is preferred
If documentation is missing information or incomplete, this will delay payment. Always ensure you have complete documentation well in advance of requesting payment.
Requesting Payment via BearBuy
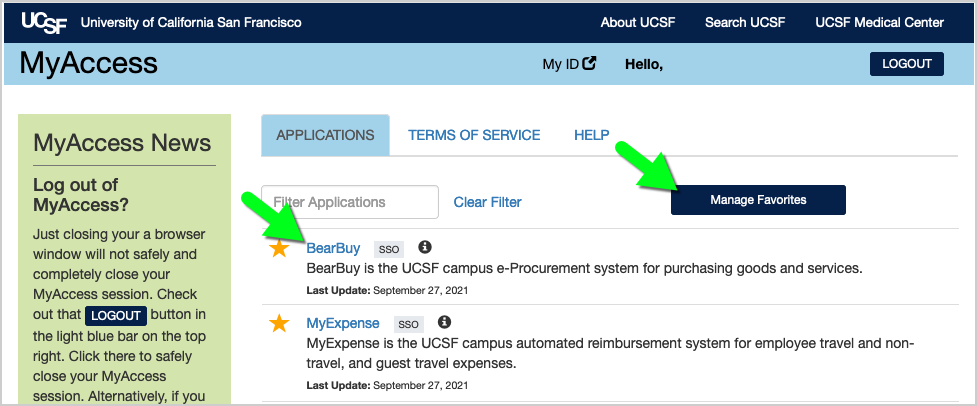
Access BearBuy by logging into your UCSF MyAccess account
- Click on the BearBuy link to open the application
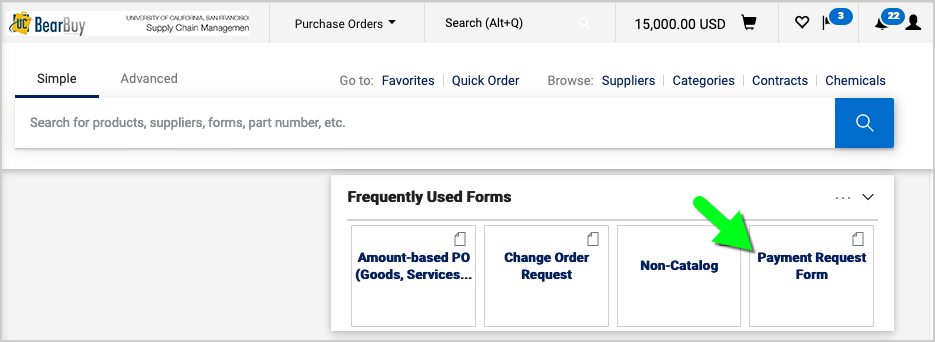
- In BearBuy, scroll to the bottom of the homepage to the Frequently Used Forms section
- Click the Payment Request Form icon to open form
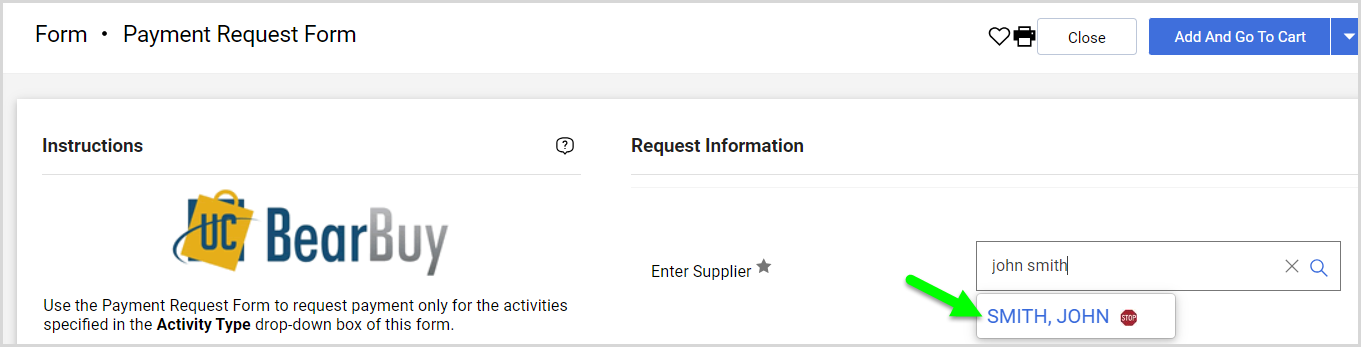
- In the “Enter Supplier” field, type in the supplier's name
- Select the Community Partner from the list that appears
- Attachment to Check Required – Generally select “No”
- Choose “Yes” only if there is a required document to be mailed with the check
- This will lengthen the time for payment, so it is recommended to select “No”

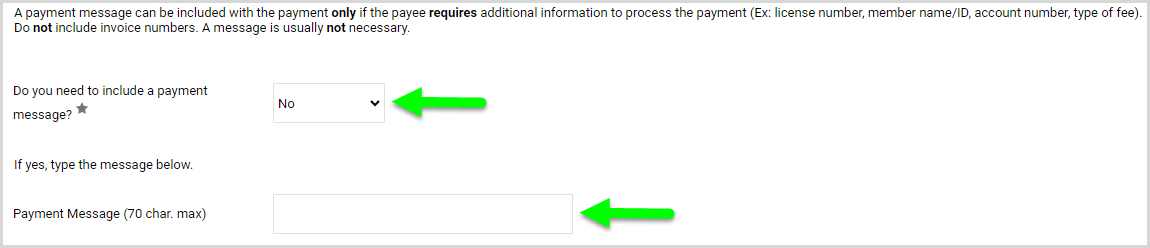
- Do you need to include a payment message?
- Select "Yes" only if a message is required on the payment advice
- Select “No” if the message is not required. A message is usually not typically necessary.
- Payment Message
- This is a description of payment to be printed on remittance advice
- Only enter a message if you selected “Yes” above and if a message is necessary
- Remit To Address - address where the check (if paid by check) will be mailed
- You are responsible for ensuring the address selected is correct, otherwise, the payment may not be received by the Community Partner
- A default address is automatically selected, indicated with a dot in the radio button
- If there are multiple addresses, select the correct address from the list
- If you don't see the correct address, the supplier needs to complete the Supplier Information Form/Substitute W9 form with the new address. Send it to [email protected] to add the address. Once the address is added, you can select the address in BearBuy.

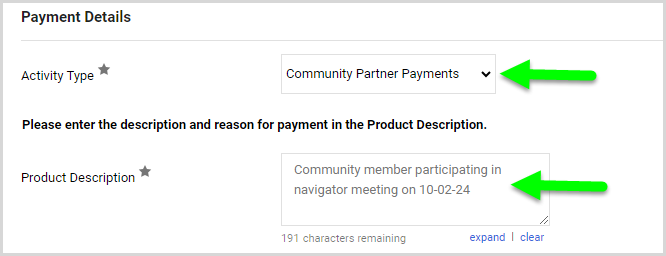
- Activity Type - from the dropdown, select Community Partner Payments
- Product Description - enter the description and reason for payment
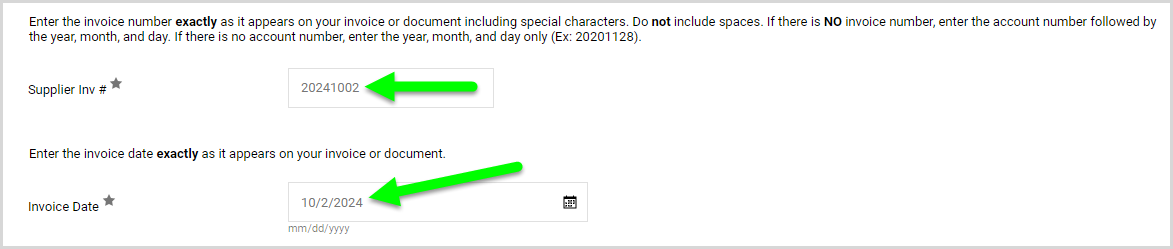
- Supplier Inv #
- If you have an invoice number provided by the Community Partner, enter the invoice number exactly as it appears on your invoice or document
- If there is NO invoice number, enter the year, month, and day (e.g., 20241002).
- Invoice Date
- Enter the date as it appears on your invoice or document
- If there is no date provided, enter the date the Community Partner completed the work
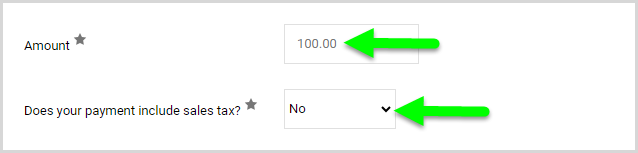
- Amount
- Enter the total amount you will be paying the Community Partner
- Does this payment include sales tax?
- Choose “No”
- Choose “No”
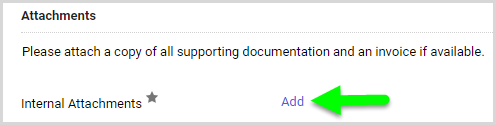
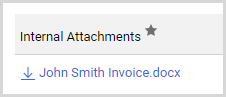
- Attachments
- Attach a copy of all supporting documentation and an invoice if available
- Click the Add link to add an attachment
- Click the Browse link and browse for the document. Wait for the document to fully load, and then click the Save Changes button.


- The document now appears on the form
Adding Form to Cart
- Select the Add And Go To Cart button located at the top of the form
- The form now appears in your cart as a line item

- Click the Proceed to Checkout button at the top of the cart

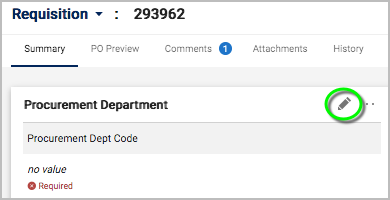
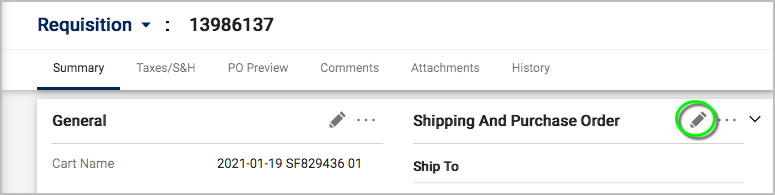
- From here, you may enter the Procurement Dept Code and Shipping Address
- Click the pencil icon next to each section to make edits
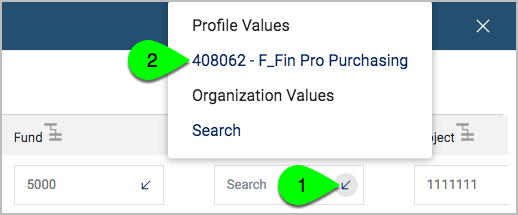
- Under the Requisition Summary tab, click the pencil icon next to the Accounting Codes section

Enter your chartstings in the Accounting Codes pop up. The Speedtype field cannot be left blank—enter a SpeedType value or N/A

- If you are a BearBuy Requester, click the Place Order button to submit the request to your approver
- If you are a BearBuy Shopper, click the Assign Cart button to send the cart to your Requester to help you submit the request
What Happens Next?
After placing the order in BearBuy, the requisition will route for approval within the department
- The approvals can be tracked on the requisition
- If your department does not submit the request or approve timely, it will impact the payment timeline
After your department fully approves the requisition, the voucher will be created and route to Supply Chain Management (SCM)
- SCM checks for completeness and all documentation attached
- If the request is incomplete, it will delay payment
- SCM will reach out to the submitter of the request for more information
- On average, the voucher will be approved in a few business days if complete, but allow up to 10 business days depending on volume of requests
- If the Community Partner is receiving a check, it will be mailed via the US Postal Service, which can take a few days
Checking Payment Status
- From the side navigation bar, go to Orders > Search > Vouchers
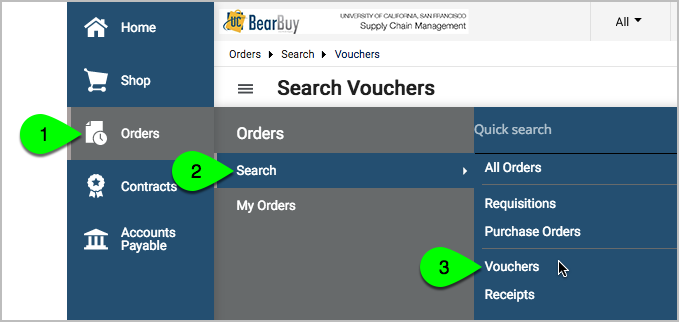
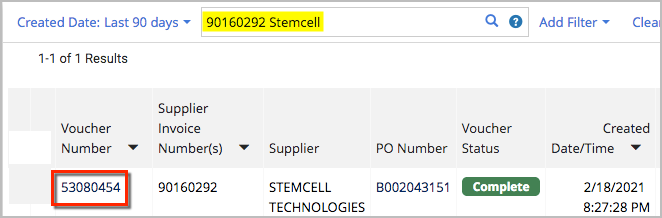
- Enter any of the following criteria in the Quick search bar: Invoice Number, Voucher Number, PO Number, Supplier, Participant
- Click the magnifying glass to run the search
- Click on the Voucher Number to view the payment details
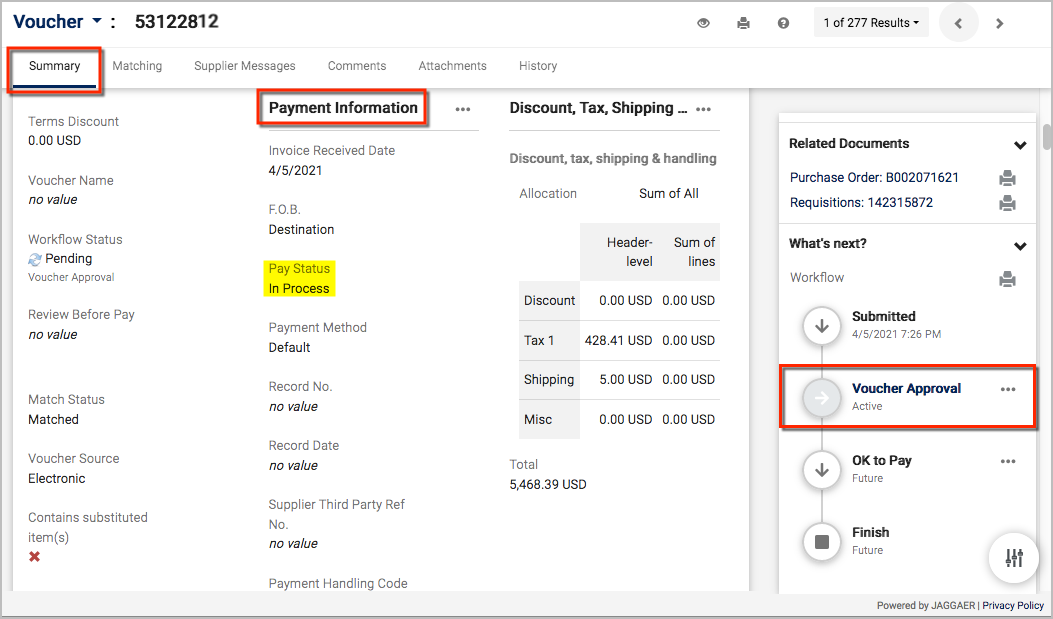
- Pay Status: The Pay Status may be Paid, In Process or Payable
- In Process invoices are not yet approved for payment
- The approvals workflow appears on the right side of the voucher in BearBuy
- Payable invoices are fully approved and pending payment
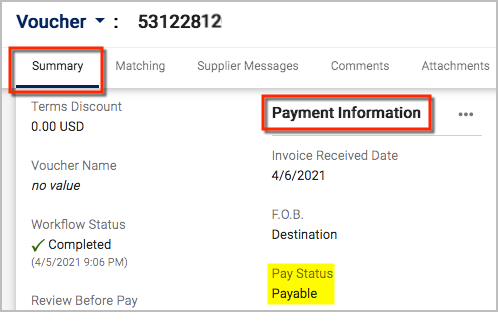
- Within the Voucher's Summary tab, scroll to the Payment Information section
- The payment details will appear on the voucher in BearBuy the next business day after the payment was issued
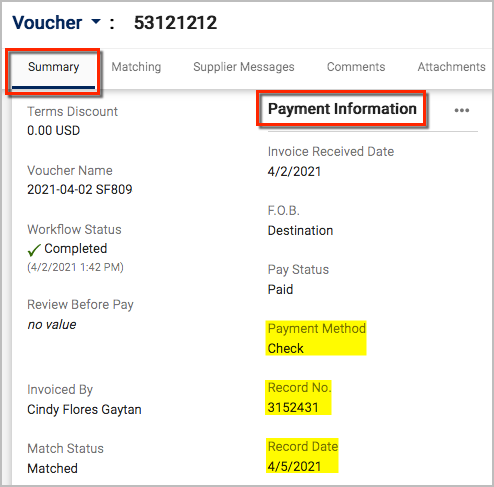
- In this example, check no. 3152431 was issued to the supplier on 4/5/21
- Payment Method - the payment method was chosen by the supplier upon registering as a supplier with UCSF. The payment method may be check or ACH.
Donation of Community Partner Payment
Your Community Partner may choose to donate the payment to a charity. The Community Partner must request the payment be donated in writing in advance of the activity.
For documentation for these payments, you must obtain approvals on a Charitable Donations or Contributions Supplemental Form following the Donations & Charitable Contributions process. Once this is approved, you can submit the payment to the charity on the Payment Request Form following the instructions above with the following changes:
- Ensure that the charity is in BearBuy and the address is correct, otherwise they will need to complete the appropriate supplier information form.
- Select the charity name as the Supplier Name on the Payment Request Form
- Select the Activity Type: Donation / Contribution
- Attach the Charitable Donations or Contributions to the Payment Request Form